
Christmas Sugar Cookies with Royal Icing are one of the prettiest and most delicious treats to add to your holiday baking list. These buttery, soft-centered cookies have lightly crisp edges and a delicate vanilla flavor, making them the perfect canvas for colorful Christmas decorations. Whether you’re planning a holiday cookie exchange, preparing homemade edible gifts, or simply looking for a fun baking project, this recipe delivers. And honestly, who can resist a plate filled with Christmas trees, snowflakes, stars, and little decorated gingerbread shapes? With a simple sugar cookie dough and homemade royal icing, you can create bakery-style holiday cookies right in your own kitchen.
Why Christmas Sugar Cookies with Royal Icing Are Perfect for the Holidays
Buttery Sugar Cookies with a Soft, Tender Center
There are plenty of Christmas desserts to choose from, but sugar cookies have a special place on holiday dessert tables. They’re simple, familiar, and incredibly versatile. Plus, you can turn one basic cookie dough into dozens of different festive designs.
The secret to delicious Christmas Sugar Cookies with Royal Icing starts with the dough. Butter gives the cookies their rich flavor, while granulated sugar creates that delicate sweetness everyone expects from a classic sugar cookie. Meanwhile, vanilla extract adds warmth, and a little almond extract brings an extra layer of flavor.
Texture matters, too. You want cookies that hold their shape when baked without becoming hard or overly crunchy. That’s why chilling the dough is such an important step.
Once baked, the cookies should have lightly golden edges and a pale center. They’ll feel slightly soft when you remove them from the oven, but don’t worry. They continue setting as they cool.
Beautiful Christmas Designs for Every Occasion
Here’s where things get especially fun!
Royal icing transforms simple sugar cookies into colorful Christmas decorations. You can use traditional red, green, and white icing or experiment with elegant combinations of gold, silver, pale blue, and cream.
Some beautiful decorating ideas include:
- Christmas trees decorated with tiny colored dots.
- Snowflakes with delicate white icing details.
- Red and white candy cane patterns.
- Green wreaths with little red bows.
- Christmas stars finished with sparkling sprinkles.
- Snowmen decorated with small icing details.
You don’t need professional decorating skills to make attractive cookies. Start with simple outlines and solid icing colors. Then, once you’re comfortable, experiment with additional patterns and details.
These cookies are also wonderful for Christmas parties, school celebrations, cookie exchanges, and homemade gift boxes.
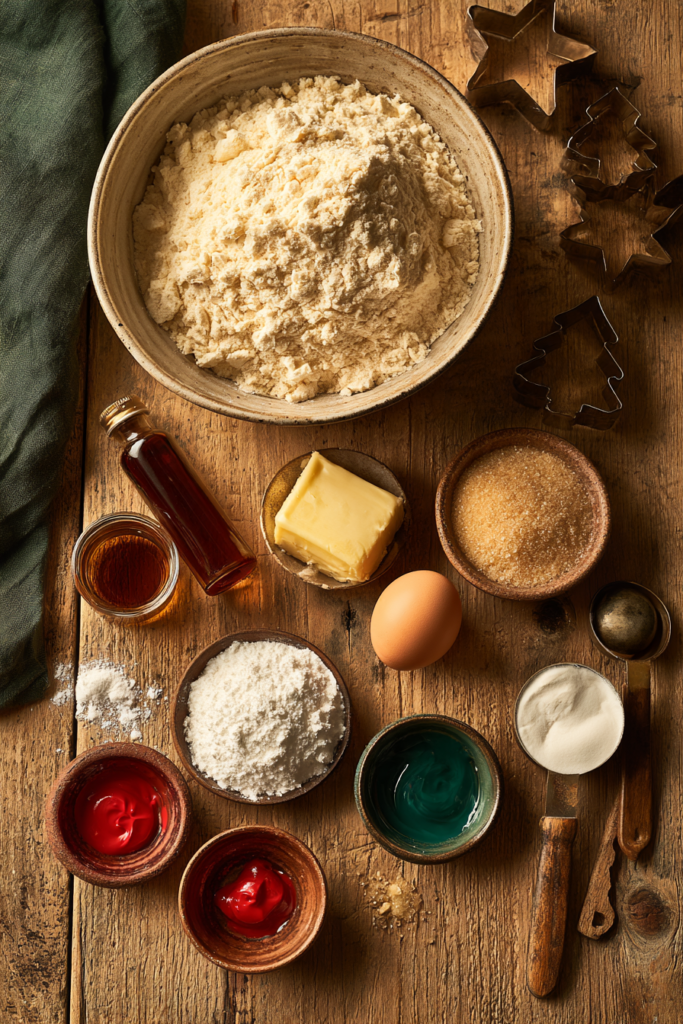
Ingredients for Christmas Sugar Cookies with Royal Icing
Everything You Need for the Sugar Cookie Dough
The ingredient list is straightforward, and most of these items are probably already in your pantry.
| Ingredient | Amount | Purpose |
|---|---|---|
| All-purpose flour | 3 cups | Provides structure |
| Unsalted butter | 1 cup | Creates rich flavor |
| Granulated sugar | 1 cup | Adds sweetness |
| Large egg | 1 | Binds the dough |
| Vanilla extract | 2 teaspoons | Adds classic flavor |
| Almond extract | 1/2 teaspoon | Adds extra aroma |
| Baking powder | 1 teaspoon | Provides gentle lift |
| Salt | 1/2 teaspoon | Balances sweetness |
Use softened butter rather than melted butter. Ideally, it should feel soft when pressed but shouldn’t look greasy or oily.
Also, measure your flour carefully. Adding too much can make the cookies dry and difficult to roll.
Ingredients for Smooth Royal Icing
The royal icing is what gives these cookies their beautiful, professional-looking finish.
You’ll need:
| Ingredient | Amount |
|---|---|
| Powdered sugar | 4 cups |
| Meringue powder | 3 tablespoons |
| Warm water | 6–8 tablespoons |
| Vanilla extract | 1 teaspoon |
| Gel food coloring | As needed |
Meringue powder helps the icing form a firm finish once it dries. It’s especially useful when you’re preparing cookies that need to be stacked, transported, or packaged as gifts.
Gel food coloring is another important ingredient. Unlike liquid coloring, it adds vibrant color without significantly thinning the icing.
Start with a small amount of coloring and gradually adjust until you reach your preferred shades.
How to Make Christmas Sugar Cookies with Royal Icing
Prepare and Chill the Cookie Dough
First, whisk the flour, baking powder, and salt together in a medium bowl. Set the mixture aside.
In a separate large mixing bowl, beat the softened butter and granulated sugar until light and fluffy. This usually takes around 2–3 minutes with an electric mixer.
Next, add the egg, vanilla extract, and almond extract. Mix until everything is incorporated.
Gradually add the dry ingredients. Mix on low speed until a soft dough forms. Avoid overmixing because too much mixing can make the finished cookies tough.
Divide the dough into two portions and flatten each portion into a disc. Wrap them tightly and refrigerate for at least one hour.
Don’t skip this step!
Chilled dough is easier to handle and helps the cookies maintain their Christmas shapes during baking.
Roll, Cut, and Bake the Cookies
Preheat your oven to 350°F (175°C). Line your baking sheets with parchment paper.
Remove one portion of dough from the refrigerator. If it’s very firm, allow it to sit at room temperature for a few minutes.
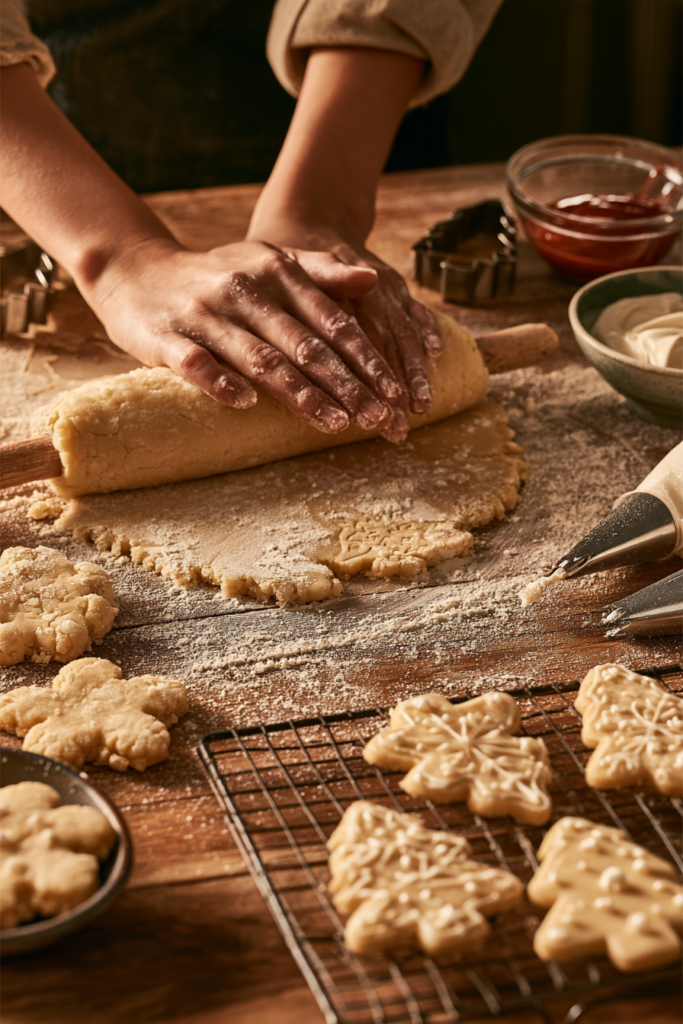
Lightly flour your work surface and roll the dough to approximately 1/4-inch thickness.
Now comes the fun part. Use Christmas cookie cutters to create your favorite shapes.
Try Christmas trees, stars, snowflakes, candy canes, or gingerbread people. Arrange the cutouts on your prepared baking sheets, leaving a little space between each cookie.
Bake for 8–11 minutes, depending on their size.
Watch the edges carefully. They should look set and may develop a very light golden color. Avoid waiting until the entire cookie turns brown.
Allow the cookies to cool on the baking sheet for about five minutes. Then transfer them to a wire rack and let them cool completely.
Never decorate warm cookies. The heat can soften the royal icing and make your beautiful designs run.
Prepare the Royal Icing
While the cookies cool, prepare your homemade royal icing.
Combine the powdered sugar and meringue powder in a clean mixing bowl. Add six tablespoons of warm water and the vanilla extract.
Beat the mixture for approximately 5–7 minutes, until it becomes smooth, glossy, and thick.
Check the consistency before decorating.
For outlining, the icing should be thick enough to hold its shape when piped. For flooding, add a little more water until the icing flows smoothly and fills the cookie surface.
Divide the icing between several small bowls. Add red, green, white, and any other gel food colors you want to use.
Transfer each color into a piping bag or decorating bottle.
Keep unused icing covered with plastic wrap touching its surface or a clean damp towel. Royal icing dries quickly when exposed to air.
Decorate and Dry Your Christmas Cookies
Now it’s time to turn your simple sugar cookies into festive holiday treats!
Start by outlining each cookie with thicker royal icing. Pipe carefully around the edges, creating a small border.
Next, use thinner icing to fill the center. Gently guide the icing toward the edges with a toothpick if necessary.
For example, make a green Christmas tree, fill it with green icing, and add tiny red and white decorations. For snowflakes, use white icing and create delicate lines with a small piping tip.
You can also add sprinkles while the icing is still wet.
Once you’ve finished decorating, leave the cookies uncovered on a flat surface until the icing dries completely.
Depending on the icing thickness and room conditions, this can take several hours or overnight.
Patience makes a difference here. Fully dried icing gives your Christmas Sugar Cookies with Royal Icing a smooth, attractive finish and makes them much easier to package.
Tips, Storage, and Frequently Asked Questions
Expert Tips for Perfect Christmas Sugar Cookies
Even a simple sugar cookie recipe benefits from a few helpful baking tricks.
Chill the dough properly. Cold dough is easier to roll and cut. It also helps prevent the cookies from spreading too much in the oven.
Keep the thickness consistent. Try to roll every cookie to approximately 1/4 inch thick. This encourages even baking.
Avoid adding too much flour. Excess flour can make the cookies dry and crumbly. If the dough sticks, try rolling it between two sheets of parchment paper.
Use gel food coloring. Gel colors provide vibrant results without adding too much liquid to your royal icing.
Keep decorating tools clean. Grease can interfere with royal icing, so use clean, dry bowls and piping tips.
Let each layer dry. If you’re decorating cookies with multiple colors or detailed patterns, allow the previous layer to set before adding another.
Don’t rush the final drying process. Royal icing may feel dry on the surface before the decorations have completely hardened underneath.
How to Store and Make These Cookies Ahead
One of the best things about Christmas sugar cookies is that you can prepare them ahead of time.
For decorated cookies, allow the royal icing to dry completely before placing them in an airtight container. Store them in a cool, dry place away from direct sunlight and moisture.
For the best quality, enjoy them within approximately one week.
You can also freeze undecorated sugar cookies. Once completely cooled, arrange them in a freezer-safe container with parchment paper between the layers. Freeze for up to three months for the best quality.
When you’re ready to decorate, thaw the cookies at room temperature while keeping them protected from excess moisture.
The cookie dough can also be prepared ahead. Wrap it tightly and refrigerate for up to three days, or freeze it for longer storage.
If you’re planning to make Christmas gifts, consider baking the cookies one day and decorating them the next. This makes the entire process much more manageable.

Frequently Asked Questions
Can I make Christmas sugar cookies without almond extract?
Absolutely! Almond extract is optional. You can leave it out and use a little extra vanilla extract instead. The cookies will still have a delicious buttery flavor.
Why do my sugar cookies spread in the oven?
This usually happens when the dough is too warm, the butter is overly soft, or the flour measurements are inaccurate. Chill the dough thoroughly and avoid placing warm cookie cutouts directly into the oven.
How do I know when royal icing has the right consistency?
Outlining icing should hold its shape when piped. Flooding icing should flow smoothly enough to fill the cookie surface without running over the edges. Adjust the consistency by adding small amounts of water or powdered sugar.
Can I decorate these cookies without piping bags?
Yes! Small squeeze bottles, disposable decorating bags, or homemade parchment cones work well. You can even use a toothpick to guide icing into small spaces.
How long does royal icing take to dry?
Thin layers may dry within a few hours, while thicker decorations can take longer. For cookies you’re planning to stack or package, allowing them to dry overnight is a good idea.
Can I use liquid food coloring?
Yes, although gel coloring is generally easier to work with because it adds less liquid. If you use liquid coloring, adjust the icing consistency as needed.
Can I freeze decorated Christmas sugar cookies?
You can freeze fully dried decorated cookies, but delicate decorations may be affected by condensation during thawing. For the best appearance, freeze undecorated cookies and decorate them after thawing.
Final Thoughts
These Christmas Sugar Cookies with Royal Icing are everything a holiday cookie should be: buttery, delicious, beautifully decorated, and fun to share. From classic Christmas trees and snowflakes to colorful candy canes and festive stars, every batch gives you an opportunity to get creative.
And the best part? You don’t need complicated ingredients or professional baking equipment to make them look wonderful.
Prepare the dough ahead, bake your favorite Christmas shapes, and enjoy decorating them with smooth homemade royal icing. Whether you’re making a big batch for a holiday party or packaging a few cookies as thoughtful homemade gifts, these treats are guaranteed to bring a little extra sweetness to the season.
Print
Christmas Sugar Cookies with Royal Icing – Easy, Buttery & Beautifully Festive
- Total Time: 1 hour 45 mins + decorating and drying
- Yield: 24 cookies
- Diet: Vegetarian
Description
Buttery Christmas sugar cookies with soft centers, crisp edges, and smooth homemade royal icing. These festive holiday cookies are easy to customize with colorful Christmas decorations, making them perfect for parties, cookie exchanges, and homemade gifts.
Ingredients
3 cups all-purpose flour
1 cup unsalted butter, softened
1 cup granulated sugar
1 large egg
2 teaspoons vanilla extract
1/2 teaspoon almond extract
1 teaspoon baking powder
1/2 teaspoon salt
For the Royal Icing:
4 cups powdered sugar
3 tablespoons meringue powder
6–8 tablespoons warm water
1 teaspoon vanilla extract
Gel food coloring in red, green, white, and other festive colors
Instructions
1. Whisk together the flour, baking powder, and salt in a medium bowl.
2. In a separate large bowl, beat the softened butter and granulated sugar until light and fluffy.
3. Add the egg, vanilla extract, and almond extract. Mix until combined.
4. Gradually add the dry ingredients and mix until a soft cookie dough forms.
5. Divide the dough into two portions, flatten into discs, wrap, and refrigerate for at least 1 hour.
6. Preheat the oven to 350°F (175°C) and line baking sheets with parchment paper.
7. Roll the chilled dough on a lightly floured surface to approximately 1/4-inch thickness.
8. Cut the dough into Christmas shapes using cookie cutters.
9. Arrange the cookies on prepared baking sheets, leaving a little space between them.
10. Bake for 8–11 minutes, until the edges are just beginning to turn lightly golden.
11. Cool the cookies on the baking sheet for 5 minutes, then transfer to a wire rack to cool completely.
12. Combine powdered sugar and meringue powder in a mixing bowl to prepare the royal icing.
13. Add warm water gradually along with vanilla extract. Beat for 5–7 minutes until smooth, glossy, and thick.
14. Divide the icing into separate bowls and add gel food coloring.
15. Add a little water to create a thinner flooding consistency while keeping some thicker icing for outlining.
16. Transfer the icing into piping bags or decorating bottles.
17. Outline each completely cooled cookie with thicker icing, then fill the center with thinner icing.
18. Add festive details and sprinkles while the icing is still wet.
19. Allow the decorated cookies to dry completely before storing or serving.
Notes
Chill the dough for at least 1 hour to help the cookies maintain their shapes during baking.
Roll the dough evenly to approximately 1/4-inch thickness for consistent results.
Use gel food coloring for vibrant colors without thinning the royal icing too much.
Keep unused royal icing covered to prevent it from drying out.
Allow decorated cookies to dry overnight before stacking or packaging.
Store completely dried cookies in an airtight container in a cool, dry place for up to 1 week.
Freeze undecorated baked cookies for up to 3 months for the best quality.
- Prep Time: 30 mins + 1 hour chilling
- Cook Time: 8–11 mins per batch
- Category: Dessert
- Method: Baking
- Cuisine: American